 We usually see fancy content boxes on fully customized Wordpress sites. However - what if you wanted to add your own Content boxes? These usually come in columns of three and may consist of icons or pictures, with a button on the bottom of each content box prompting the visitor to take action.  I'm going to show you how to build content boxes in Weebly, but first - we need to install two apps. Step 1: NAVIGATE TO weebly appsFirst, you are going to open up your website in "Edit" mode, and go to the page that you wish to add the Content Boxes. Ensure the "Build" tab is selected on the top, then on the sidebar, scroll to the bottom and select, the "Add App" option, and select "Made by Weebly" apps.
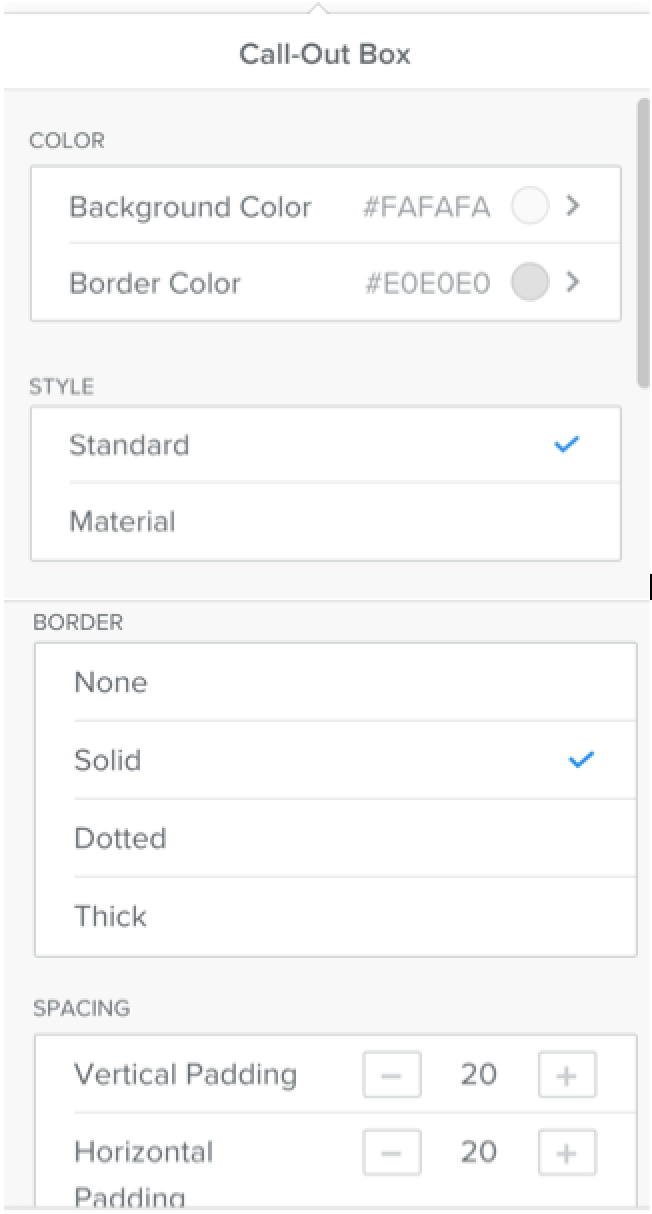
step 2: install 'callout box' appWe are going to add the "Call-out Box". When prompted, be sure to select "Connect App to my site".  Step 3: install 'font' appIf you have your own images, then you can skip this step. I am going to be using icons in my content boxes using this app. Here you go through the same steps as above, except this will not be located in the Weebly store. I simply searched "Font" in the search box in the app store to find it. Install this on your site.  Step 4: Create a new sectionNow that both apps are installed (or just the callout boxes), we are going to navigate back to the page we want to add the content boxes and create a new section. We do this by ensuring "Build" is selected, and in the left side bar, select "Section" and drag this onto the page. 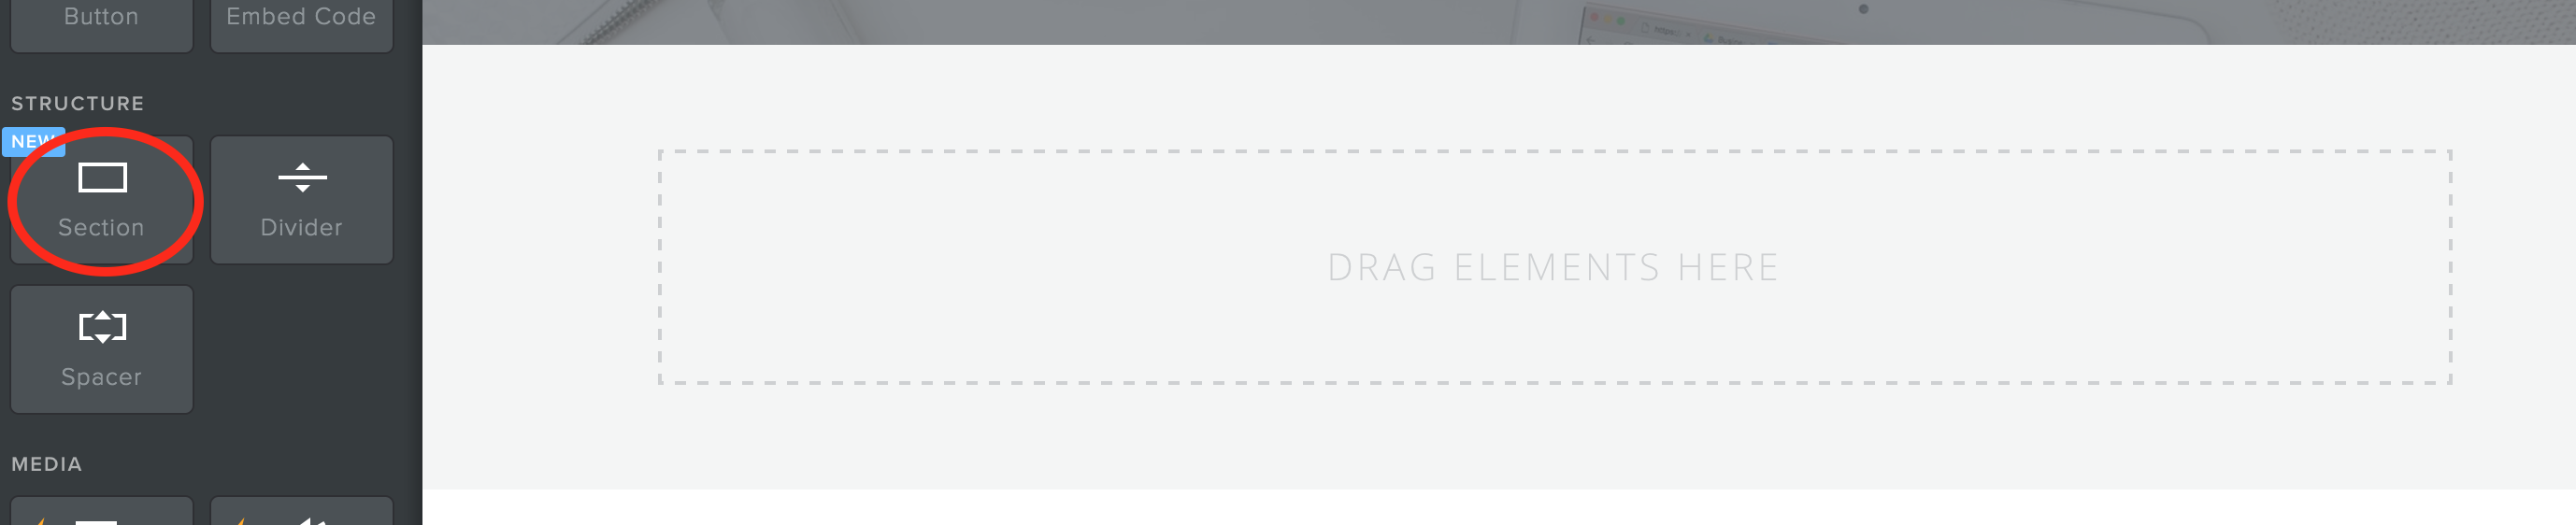 step 5: add your first content boxFrom the "Installed Apps" section, click and drag the Call-Out Box onto the new section you just created. 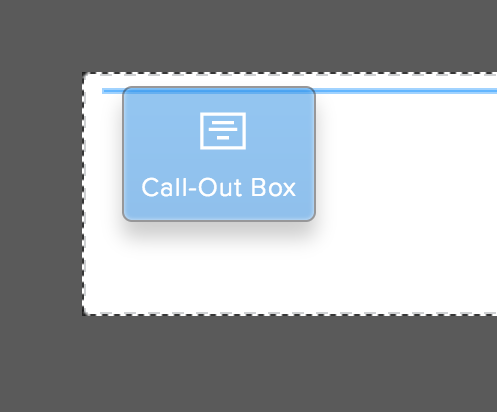 When you click on the Call-Out-Box, a mini window will appear which will allow you to add different features.
"Padding" refers to how much space oyu have between your text and the edge of the box. 20px is usually enough. Step 6: Copy your content boxesWhen you click on your content box, you'll notice a little arrow in the top left hand corner. Select "Copy" and then "(This page)".  Do this two times and this will create three Call-Out Boxes:  You are now going to rearrange these callout boxes so that they are in 3 columns. You do this by dragging the second callout box by selecting that dotted box that appears when you hover over the callout box, and drag it to the right of the first callout box.  Repeat this for the third content box. 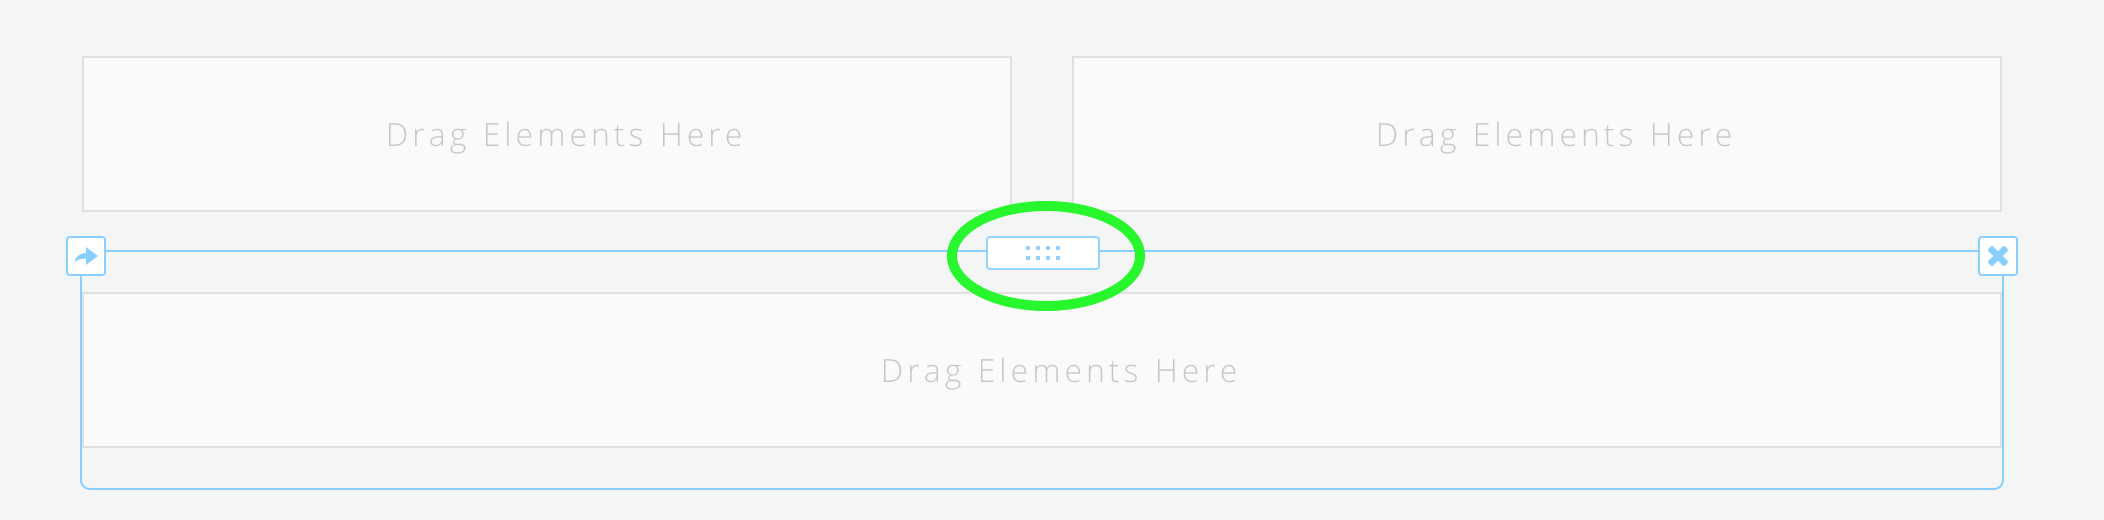 You should now have three content boxes each in its own column:  step 7: add text to your content boxesDrag the text box into the first Content Box. Make sure to center your text.  Add your text to the content boxes. This usually includes content that is centered, with a bold subtitle and explanatory text.  Step 8: add buttons to your content boxesThis gives your visitors a "Call to Action" and helps them navigate around your site. Drag the "button" box into your content box. 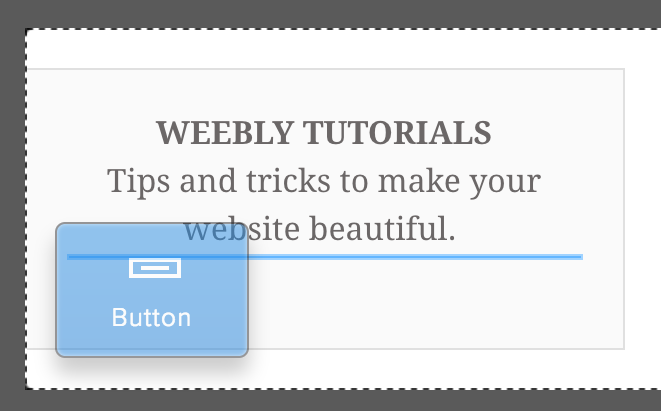 We are almost done! 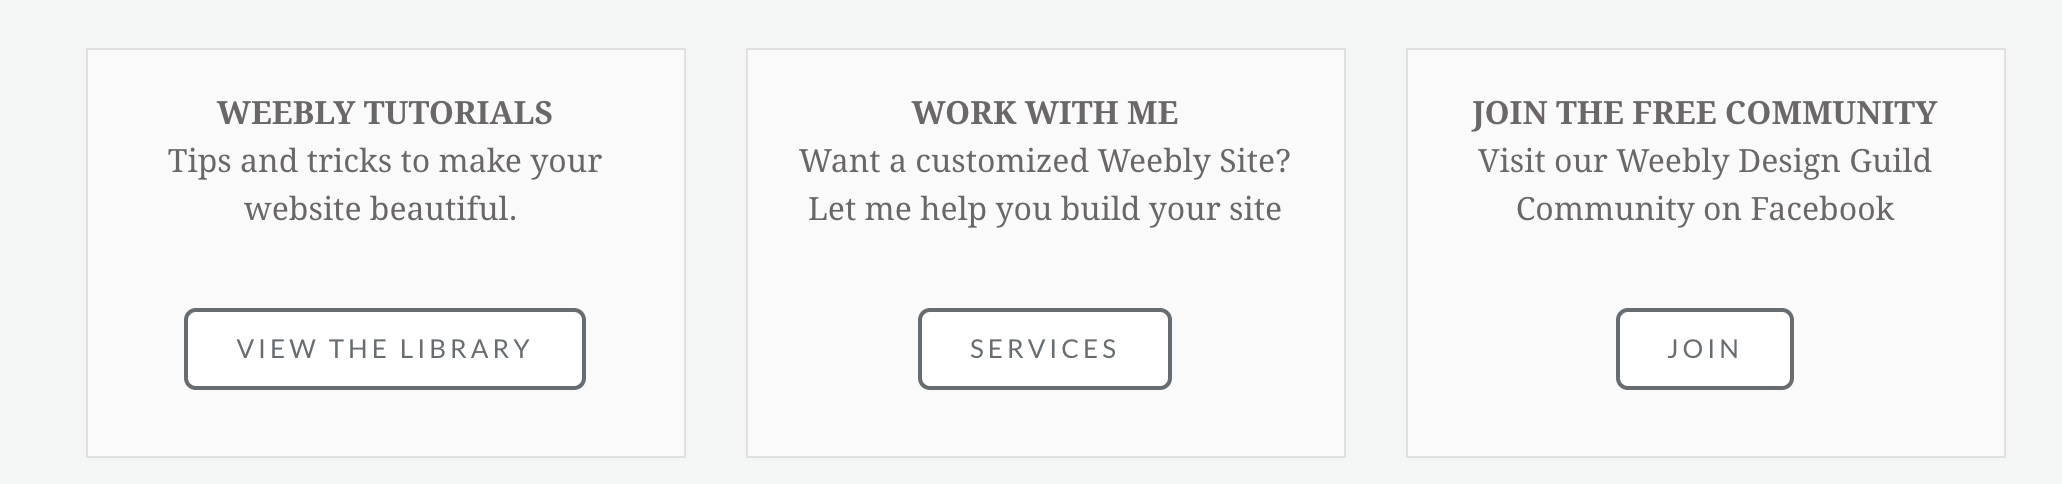 Step 9: Add images or icons to top of content boxesIn the next step, we are going to select images or icons to help draw attention to the content boxes.  Select your icon, and you can do that by selecting the name of the icon. Font awesome has a whole list of icons you can pick form. 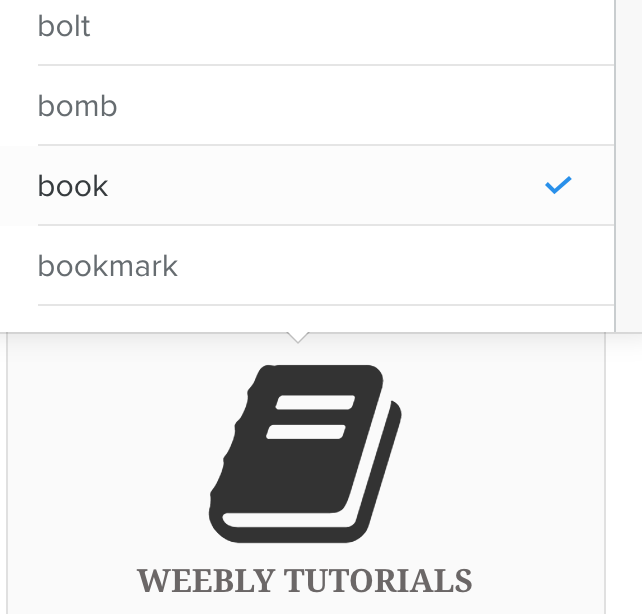 I added a spacer below each of the icons, and now have great "Content Boxes" displaying different aspects of my website! 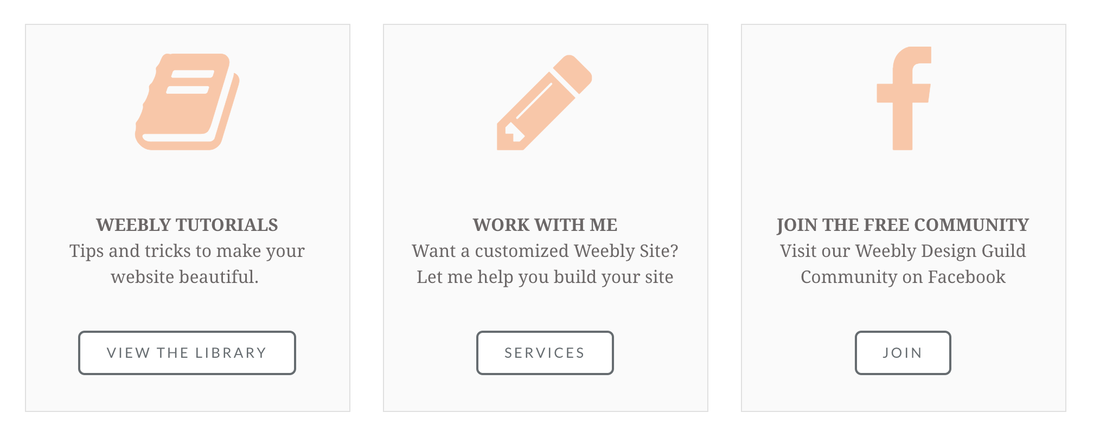 If you don't like the boxes around it, you can change the box background and color to #FFFFFF (white) and you'll get a nice clean look around your content boxes: 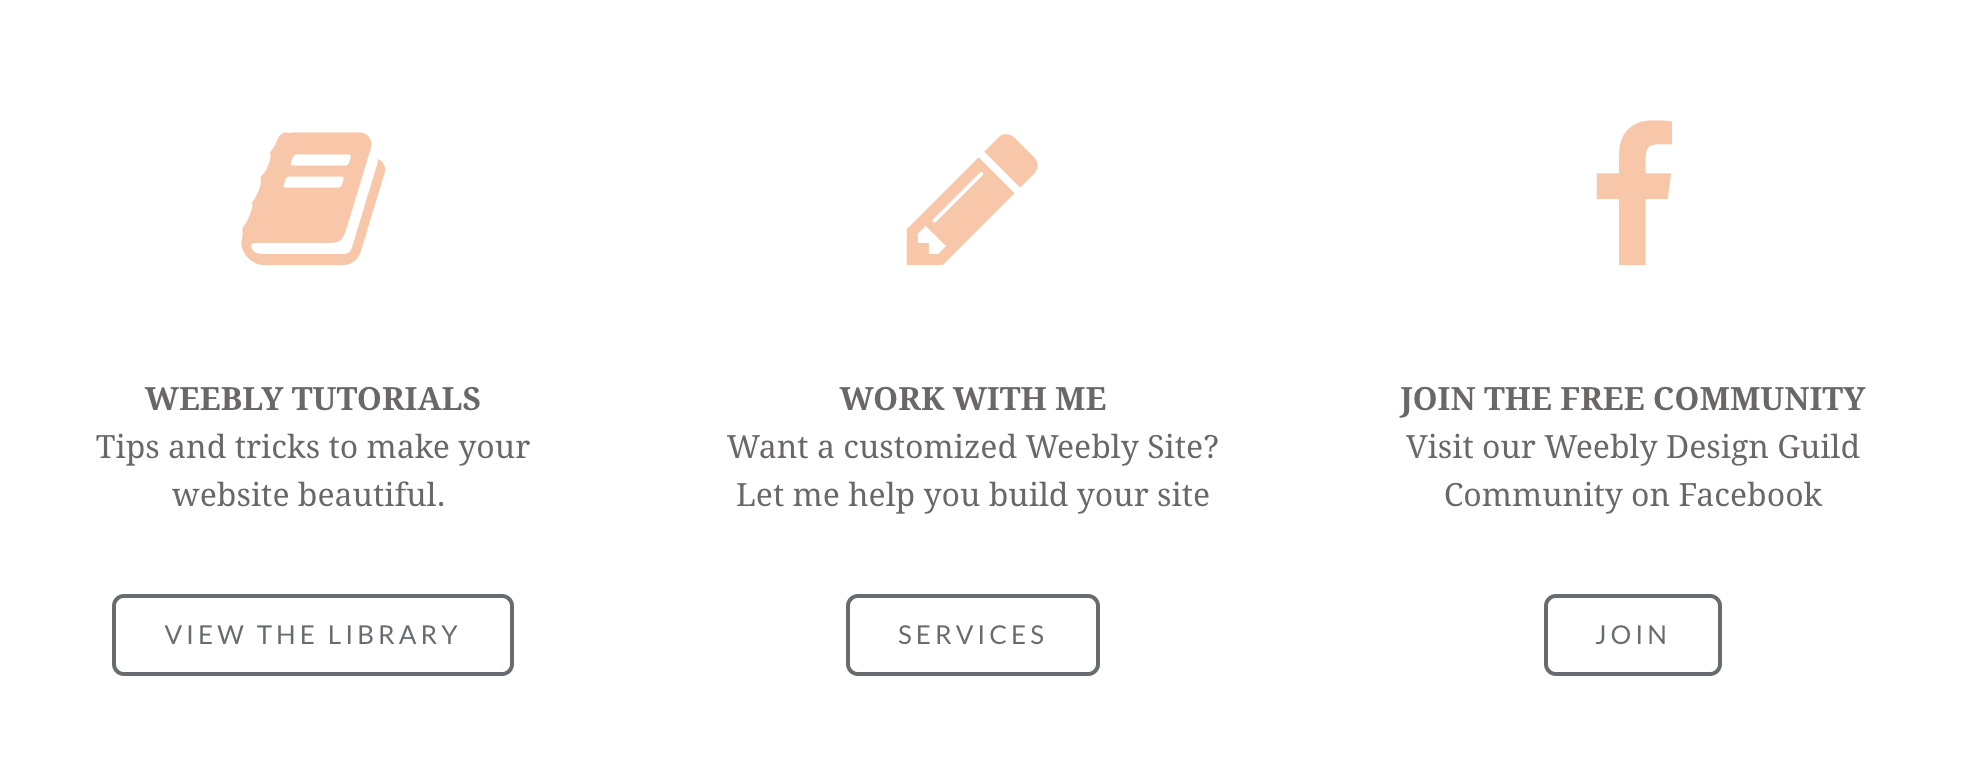 Did you find the post helpful? Let me know in the comments!
Comments
|

about anneI've been creating weebly sites for over 7 years. Let me show you how to customize your weebly site! Read more » FOLLOW & SUBSCRIBE!CATEGORIESRECENT POSTS |


 RSS Feed
